How To Turn Your Handwriting Into A Font With MyScriptFont
There are a lot of fonts available on the web, but you can be sure someone is using the same font as you are. Ever thought of having your own font, or even better turning a handmade alphabet into a font for personal or creative use?
The idea behind MyScriptFont is that it allows you to create and generate fonts from your handwriting. You can even make up a new design for every letter in the alphabet, turn that into a workable font, then use it to create all your future work. All you need is a marker or felt-tip pen and a scanner to get started.
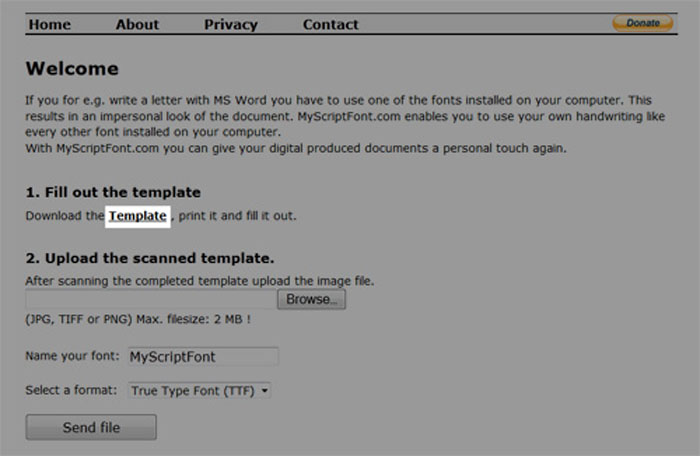
1. Download Template From MyScriptFont
To start, browse the MyScriptFont website and download the template. The template is just a set of lines you can transfer your handwriting or creations to before you turn them into fonts.
Next, write out the alphabet and numbers in your style, using a black marker. Dark blue also works. It is important that you use a felt pen instead of the regular ballpoint pen, or the text would not come out clearly.
When you’re done, scan the template at 150dpi or 300dpi.
The template needs to be scanned in grayscale and in ‘portrait’ orientation and should be in JPG, TIFF or PNG. The file size should be a maximum of 2MB or up to 6000×9000 (pixels).
2. Upload Your New Font
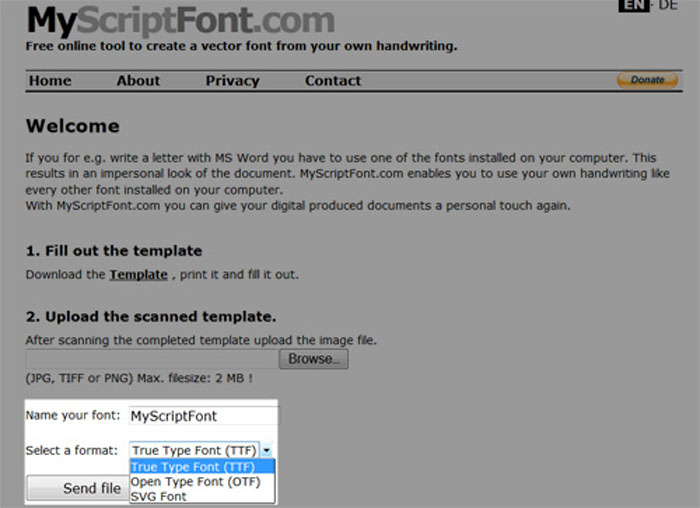
Upload your scanned fonts to the MyScriptFont website.
You can name your font and set it in the format you want the font to be: TFF, OTF or SVG format. When you’re done with the settings, click ‘Send file’ and let it load.
After the font is converted, you’re allowed to download it to your computer.
3. Installing Font
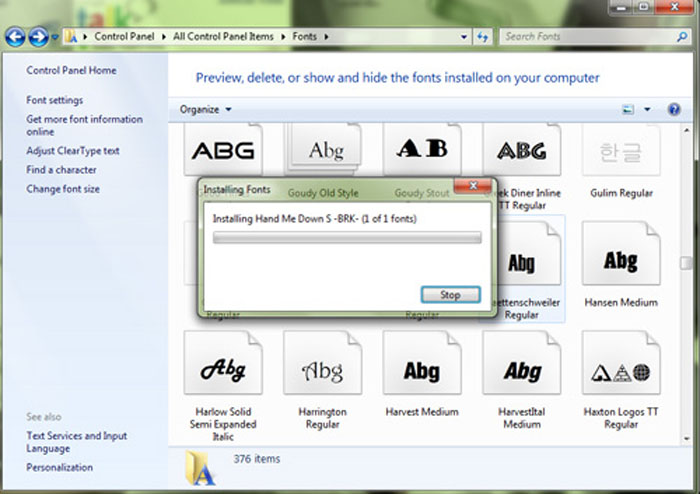
You need to install your font before using it.
For Windows, go to ‘Control Panel’ and search for ‘Fonts’. Just copy and paste your newly downloaded font into the ‘Fonts’ folder.
Source: Hongkiat
Images: Hongkiat

 English


Leave a Reply